

We left off at Part One with 10 decluttering tips to get your started in 2025 and beyond!
1. Set your mindset
Write down your reason for decluttering. Be specific with yourself and with the Lord. Take note of exactly what you’re trying to improve. Do you need more time to be available to the Lord? Do you need to reduce the amount of items you’re responsible for in your home so you can be more available to your family? Have you been feeling the call to host people in your home, but you’re too overwhelmed to welcome people? Know what you’re aiming at and ask the Lord to keep you focused on Him in the process.
2. Start small
Don’t under estimate the power of an organized junk drawer or a tidy master bedroom. Choose a small, contained space, and start there. Other ideas for places to start include the entryway, the pantry, the master closet, a coat closet or small storage closet. Whatever you do, DO NOT start with sentimental items, which leads me to the next step.
3. Create memory bins
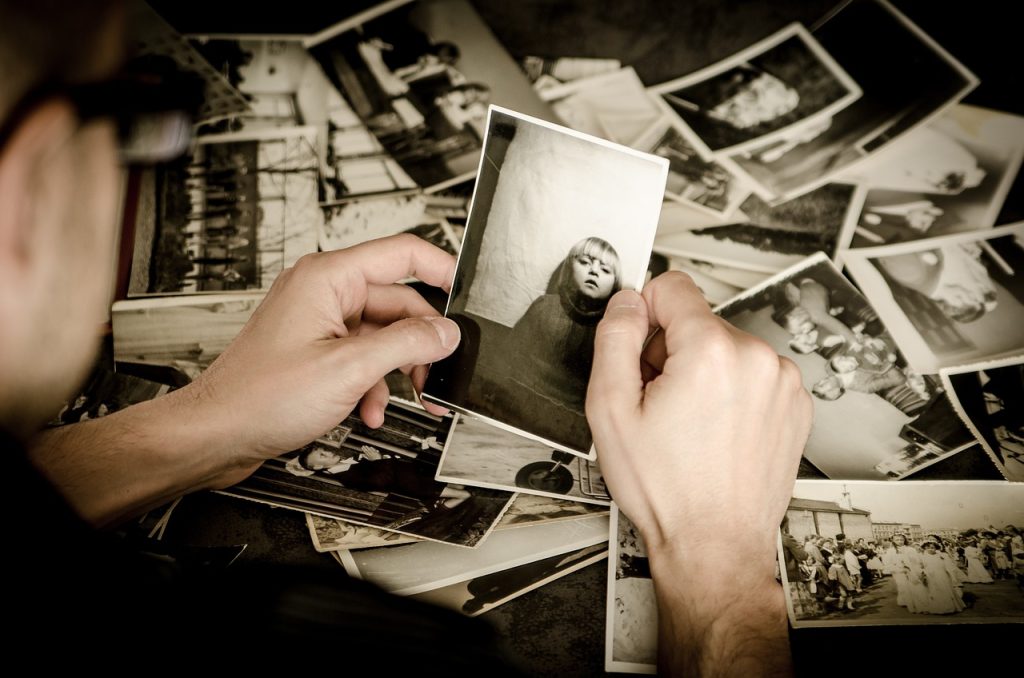
Each member of your family needs a bin, or in some case 2 bins, for the sentimental items. The beginning of your decluttering journey is not the time to sort through and organize anything sentimental. This is step 3 because most likely you will encounter sentimental items in most spaces you declutter. Having a place to put those items until it’s time to deal with them will help keep you moving. Make sure each family member has a bin or a box and label it with their name. As you come across sentimental items, just toss them in the bin.
4. Don’t make a huge mess
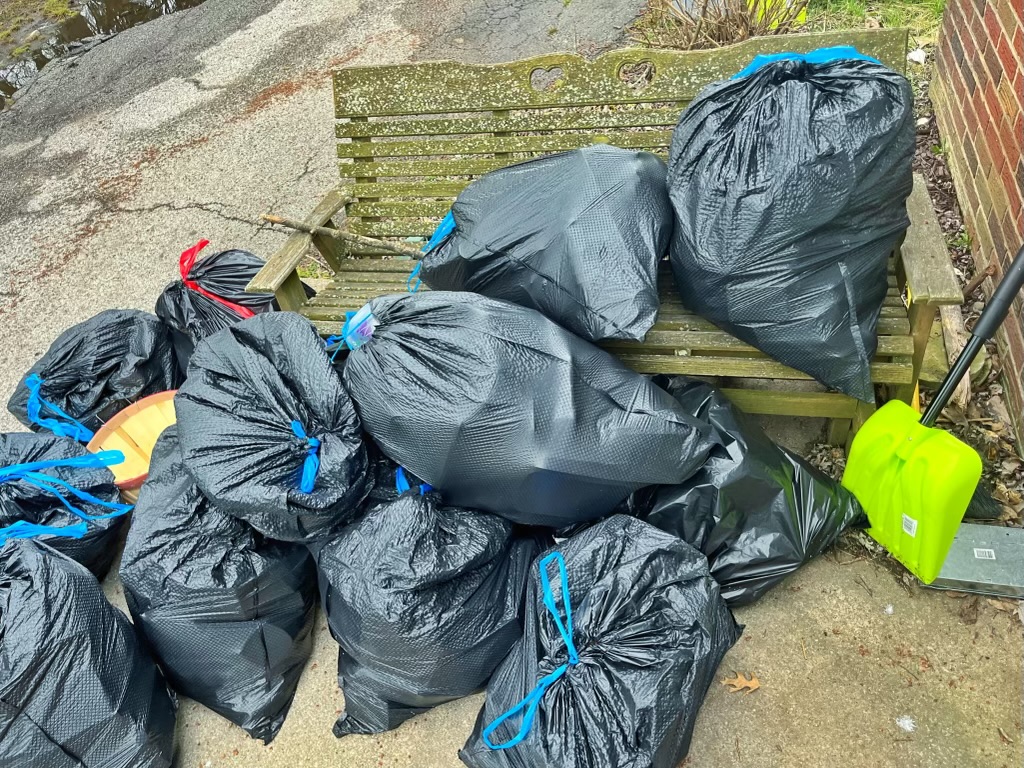
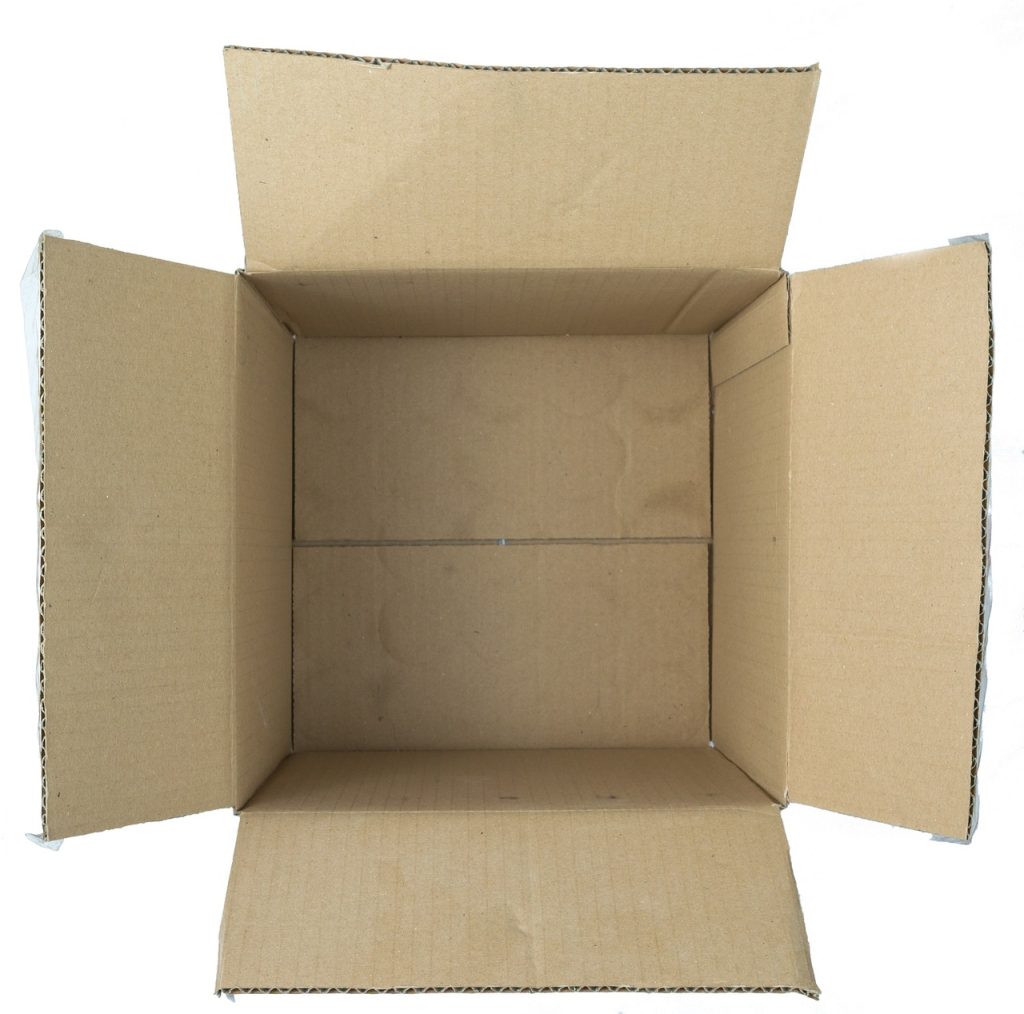
As you start each area of your home, resist the urge to pull everything out of the space. So often we think that the best way to organize a closet is to pull everything out, then sort it. The problem with that is that it can become very overwhelming. We often get started then are pulled away from the project and the next thing we know everything is far worse than it was when we started. Instead, start with 3 boxes and a black trash bag. One box is for donations – make sure it’s a donatable box, one box is to put away, one box is for time-testing, and the BLACK trash bag is for trash. Do yourself a favor and use a black trash bag to keep yourself or members of your family from second-guessing your decisions and pulling things back out of the trash.
5. Start with trash
Look into the space and look for things that are trash. Empty containers, wrappers, broken items…anything that is truly trash. Don’t try to make any big decisions for now. This process does 2 things. First, it helps you to look at a space and see individual items instead of one big mess. It also starts the process of getting things out, helping you create momentum.
6. Make decisions
As you remove each item make a decision about it immediately. Use the decluttering questions to decide if it’s a must keep. Things that will go back into the space you’re decluttering can be set to the side, trash goes in the trash bag and donations go straight into the donation box. Items that have a home somewhere else in your home should go in the box to be put away. Work in the area until the box is full. Then take a break and put all the items in the put-away-box back into their homes. If their homes are full then try to declutter one or two items from the space – just enough to make room to put the item away. Then go back to the original work space. Use the time-testing box as necessary (see next step).
7. Time-testing box
As you attack an area, you will inevitably come across items that are maybes. Things that you haven’t used recently, but you still like them or you think you MIGHT need them. These items can go in a donate-able box. When the box is full write the date on the outside, and set a time frame like 30-90 days. If, in that timeframe, you don’t have a specific need for any of the items in the box, don’t open it up – just seal and take it to the donation center. If you didn’t have need for it or reach for it, then you can live without it.
8. Build on your progress
One of the biggest things with decluttering is realizing that your progress compounds on itself. Let every area that you declutter be the incentive for the next area. Take before and after photos of each space and look at the photos often. Stay in highly used areas so that you can enjoy the fruits of your labors every day.
9. Organize & Create homes
Once you’ve thoroughly decluttered a space, group like items together and create homes for those groups. Give each group a bin with a label. Organization does not need to be fancy or aesthetic. An organized space is one where you can find what you need quickly, and put things away easily. Focus on this definition rather than trying to make your home look like a Pinterest post.
10. Avoid re-cluttering
Remember that the clutter didn’t come from nowhere. If you’re not intentional about keeping your home clutter free, the clutter will creep back in. Stop using “shopping” and “hobby” in the same sentence. Think about every purchase before you bring it in. Remember the difficulty and stress of decluttering and evaluate every purchase. Ask yourself the following questions. Where you will store it? Do you already own something similar? Is there something you will get rid of to make room for a new item?
If the clutter comes from hand-me-downs and other gifts be selective about which items you keep. If you know you wont have time to go through the items then let the giver know that this isn’t a good time for you to take items. Protect your home and your space, remembering that it’s about more than just the items, it’s about your relationship with the Lord and others.
